

How to Play
Movement, enemies, shards, portals — everything you need to escape.
Controls
Escape uses keyboard or any Xbox-compatible controller.
Move
Jump
Crouch
Sprint
Pause
Menu
- Jump height is variable — tap for a short hop, hold for maximum height.
- Crouching reduces your hitbox height and slows you to crawl speed. Use it to slip under enemies.
- Sprint is a modifier held alongside movement — it doesn't change jump height.
Health & Lives
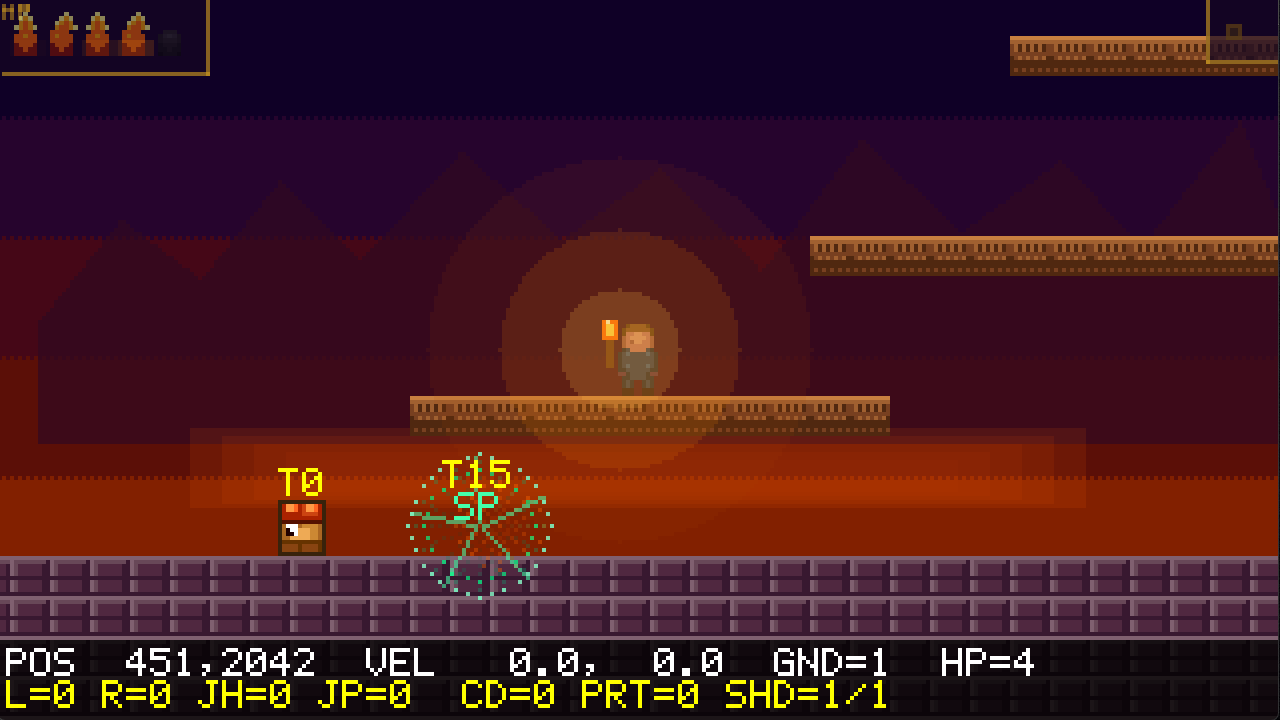
Your health is shown as flame icons in the top-left corner. You start each stage with full health (up to 5 flames depending on difficulty).
♥♥♥♥♥
- Taking damage triggers 3 seconds of invincibility — you glow orange-white and cannot be hurt again during this window.
- The glow pulses fast (8 Hz) while fully invincible, slowing down and fading in the final second.
- You have 5 continues. Losing all health costs one continue and restarts the stage. Losing all continues ends the run.
- During the 3-2-1-GO countdown at stage start, you are always invincible.
Shards & Portals
Each stage contains at least one shard — a glowing crystal collectible. Collecting all shards on a stage activates the exit portal.
- Shards are marked with their ID label in yellow above them. Walk through one to collect it.
- The exit portal appears 20 tiles to the right of the shard and glows with a green vortex when active.
- Step into the portal to complete the stage.
Enemies — Stomping & Combat
Most enemies can be defeated by jumping and landing on top of them (stomping). Land feet-first on the upper half of an enemy while moving downward.
- After taking a stomp, multi-HP enemies still have their shield until their HP reaches zero.
- Side contact or landing on the bottom half of any enemy deals damage to you.
- After being hit, your 3-second invincibility window lets you escape without taking additional damage.
- Some enemies fire projectiles — watch the trajectory before crossing their line of sight.
Enemy Portals
Enemies use three types of portal, each with a distinct colour and meaning:
| Colour | Type | What it means |
|---|---|---|
| Green / Teal | Spawn portal | Enemy is materialising. It grows from nothing over 1 second. Safe to walk through, but can be stomped — a well-timed stomp during spawning counts. |
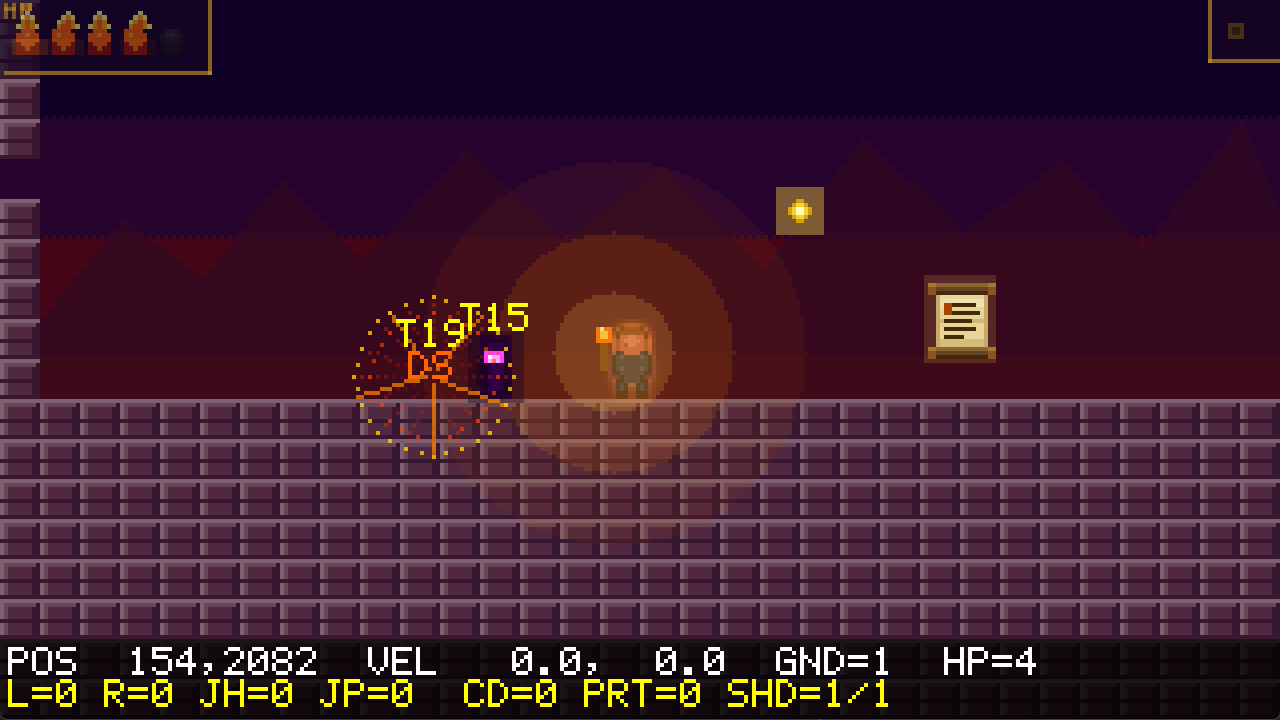
| Orange / Red | Despawn portal | Enemy fell off the map or completed a retreat cycle. It sinks into the vortex over 1 second, then respawns at its home position via a new spawn portal. |
| Purple | Death portal | Enemy was killed by a stomp. The portal grows as the enemy shrinks into it. Permanent — the enemy is gone for this stage. |
Enemy Types
Escape features many enemy variants. These are the ones whose behaviour you'll need to learn first — each blends a generated look with hand-tuned movement. The type code (e.g. T19) matches the editor.
Hell Hound
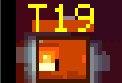
Waits until you're at least 20 tiles away, then spawns 20 tiles behind you via a green portal. Runs at you, turns 5 tiles away, retreats, then despawns. Repeats (default 2 cycles). Contact deals 1HP.
◐ Stompable only during its spawn portal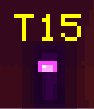
Shadow
Stalks you — closes to 3 tiles, then holds. Every 5 seconds it teleports 4 tiles behind you via a green portal, leaving an orange residue. After 5 snaps it opens a permanent despawn portal and is gone.
● Stompable
Shell
Chases you until within 1.5 tiles, then patrols ±5 tiles around your position. If you move more than 6 tiles away, it switches back to chase mode.
● Stompable
Immune Types
Any enemy ringed by a bright pulsing cyan shield cannot be stomped — landing on it hurts you. Multi-HP enemies keep their shield until HP hits zero. Avoid or out-manoeuvre them; some also fire projectiles.
✕ Stomp-immune — do not land on itThe Demon
On Stage 1-3 (The Abyss), a massive demon appears and scans the level with twin perspective eye-beams. If the beams hit you, you take damage.
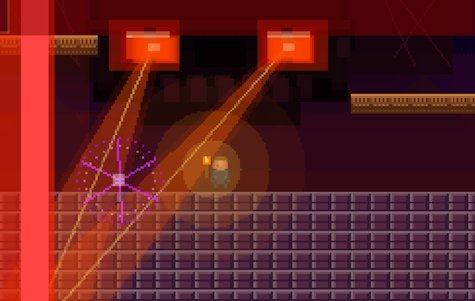
- Watch for the warning phase — a brief window before the demon arrives. Use it to reach cover.
- Rock formations: (large boulders) block the demon's scan completely. Standing behind one makes you invisible to the beams.
- The demon departs after its scanning phase — it won't stay forever.
- Music ducks to 25% volume while the demon is present, then restores over 8 seconds.
Stages
| Stage | Name | Enemy types | Demon | Background |
|---|---|---|---|---|
| 1-1 | Gates of Hell | T0–T26 (Generics + Infernal) | No | Infernal Caverns |
| 1-2 | Ember Tunnels | T27–T53 (Lava + Bone + Citadel) | No | Bone Cathedral |
| 1-3 | The Abyss | T54–T79 (Plague + Void + Chaos) | Yes | Plague Marshes |
| 1-4 | Demon's Keep | T20–T27 warmup + Boss | No | Void Abyss |
Tips
- Platforms are your friend — many enemies can't reach you on the higher ledges. Use them to observe patterns safely.
- The debug overlay (always visible) shows enemy type numbers (T0–T79) above each enemy. Cross-reference with the editor guide to understand what you're facing.
- Enemies respawn via portals when they fall off platforms — the orange despawn portal tells you where they were.
- Running out of time on a stage doesn't kill you — there's no time limit. Take your time.
- Found a bug? Let us know — it helps.
- Change things using theEditor guide.